
Sometimes a router may not be accessible but that should not deter you from putting together your woodcraft. During such times, you can turn into various woodworking tools that won’t require you to use a router. So read through this article to find out some of the best no-router solutions for cutting those grooves in the wood.
-
Using a Dremel Tool
The Dremel tool method is quite efficient when it comes to cutting short wood pieces since the Dremel has a short rotatory bit. This method is quite easy and straightforward- all you need is a Dremel, the portion of wood you want to cut and a marking gauge or pencil.
Step-by-Step Guideline
- Use the marking gauge or pencil to mark the wood piece.
- Fix the blade on the Dremel tool.
- Place the Dremel on the marked section and begin cutting cautiously.
- While cutting, ensure that the blade aligns with the marked section on the wood piece to achieve a cleaner cut.
However, note that it can be quite hard to achieve a clean cut with this tool, thus the need first to cut the edge with a utility knife. Another downside about this tool is that it can be quite a time consuming if you try using it to cut grooves on large wood pieces.
-
Using the Table Saw
If you are a woodworker, I bet that you have come across and used this tool for cutting. The table saw method is best suitable for large woodcuts. Some of the tools you will require are a pencil, marker or marking gauge, blade, table saw, wood piece and feather board (if need be).
Step-by-Step Guideline
- Pick your wood piece and mark the point you want to cut the groove with a pencil, marker or marking gauge.
- Place your wood piece on the table saw which is inclusive of the dado blade.
- Use one hand to press the wood piece downward and use the other to hold it straight as you push it towards the fence as you apply pressure.
- The table saw can have a feather board which can be adjusted considering your wood piece.
- Put this wood piece on the table saw and start cutting it.
Note that if the wooden piece you are cutting is quite large, you should seek external help. Remember, safety comes first- you do not want to lose your hand to the blade. Also, make sure you test cut if you are using a rabbet or dado blade to ensure that the depth and width of your cut turn out as expected. The tale saw built-in gauge might not be accurate as you think. Use a tape measure for measuring the distance between the blade’s edge and your fence.
The standard table saw blades cut 1/8 inch. If you wish to cut a wider groove, you have to make multiple overlapping cuts. The test cutting highlighted earlier is also functional as it determines if the blade is actually cutting or not.
-
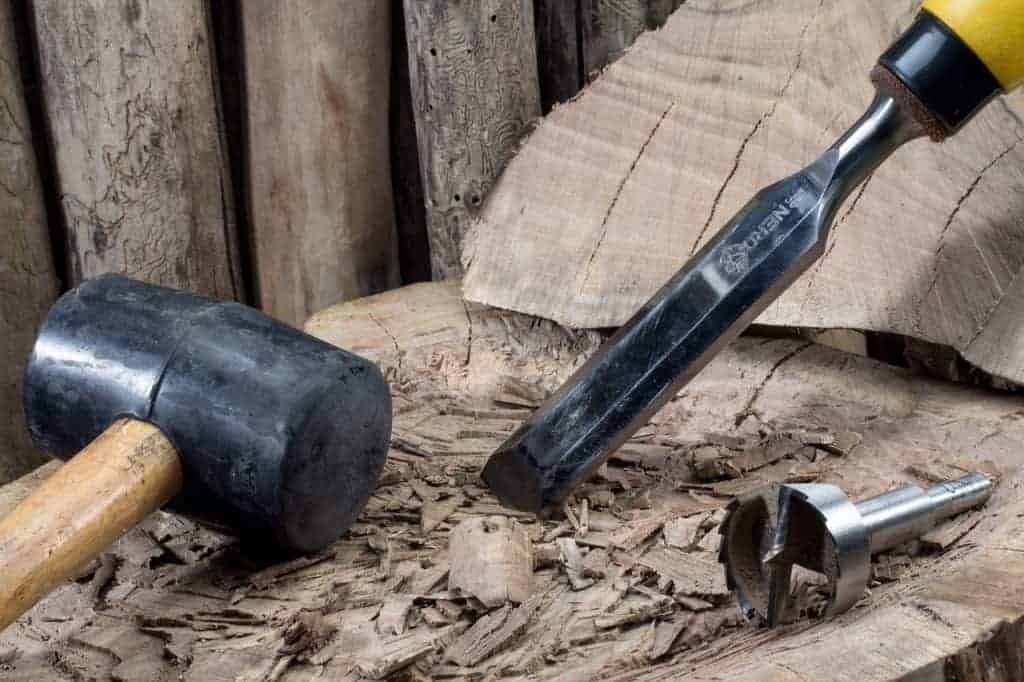
Using a Chisel
If you ever find yourself in a desperate situation where you cannot lay your hands on any power tool, you can result in the conventional way of cutting grooves using a chisel. The chisel method has been in practice long enough, since the days of apprentice woodworkers.
Do you want to learn how to cut a smooth and nice groove using a chisel? All you need is a chisel, adjustments, saw and a piece of wood. The chisel method is quite simple and one of the cheapest ways to cut grooves on wood. Follow the guidelines below to find out how.
Step-by-Step Guideline
- Start by marking parallel lines using the saw.
- Use the adjustments to adjust the wood piece that you have placed on the table.
- Start working with the chisel carefully by gradually removing the wooden pieces to make a clean cut.
Be careful to avoid overcutting when you reach the groove’s desired depth. Also note, that you cannot use a chisel smaller than the width of your groove, but not too wide.
-
Using a Combination Plane
Another excellent alternative for the router is the combination plane. All you need to cut a groove using this tool are different sized blades, a wood piece, pencil or marking gauge and a combination plane. Find out how you can use the combination plane below.
Step-by-Step Guideline
- Mark the piece of wood using a pencil or marking gauge on the end grain.
- Place and fix the wood piece on the table.
- Take the combination plane and select one among the multiple sized blades and fix it.
- Place the combination plane on the market section and apply pressure with your thumb.
- Use the other hand to thrust the combination plane forward and continue scratching until you achieve your desired groove.
The Bottom Line
To sum up, all that we have highlighted above on cutting grooves without a router is quite simple and practical. If you have a router, well and good- you can escape the hassle and time of having to seek other alternative means. This article rules out how to cut a groove in wood without a router. Follow the step-by-step guidelines we highlighted for each method above and enjoy cutting your desired grooves in the wood.
Normally I do not read article on blogs, however I wish to say that this write-up very pressured me to check out and do so! Your writing style has been amazed me. Thanks, quite great article.